Making a New EZVIZ DB1 Button
The EZVIZ DB1 smart doorbell has a physical design flaw that makes one in four visitors to my house press the PIR sensor instead of the doorbell button. I made one more attempt to address this flaw.
This is the third post in a series about the EZVIZ DB1 smart doorbell. Also see Improving the DB1 Doorbell and Deepdive into the EZVIZ DB1 Doorbell with Home Assistant.
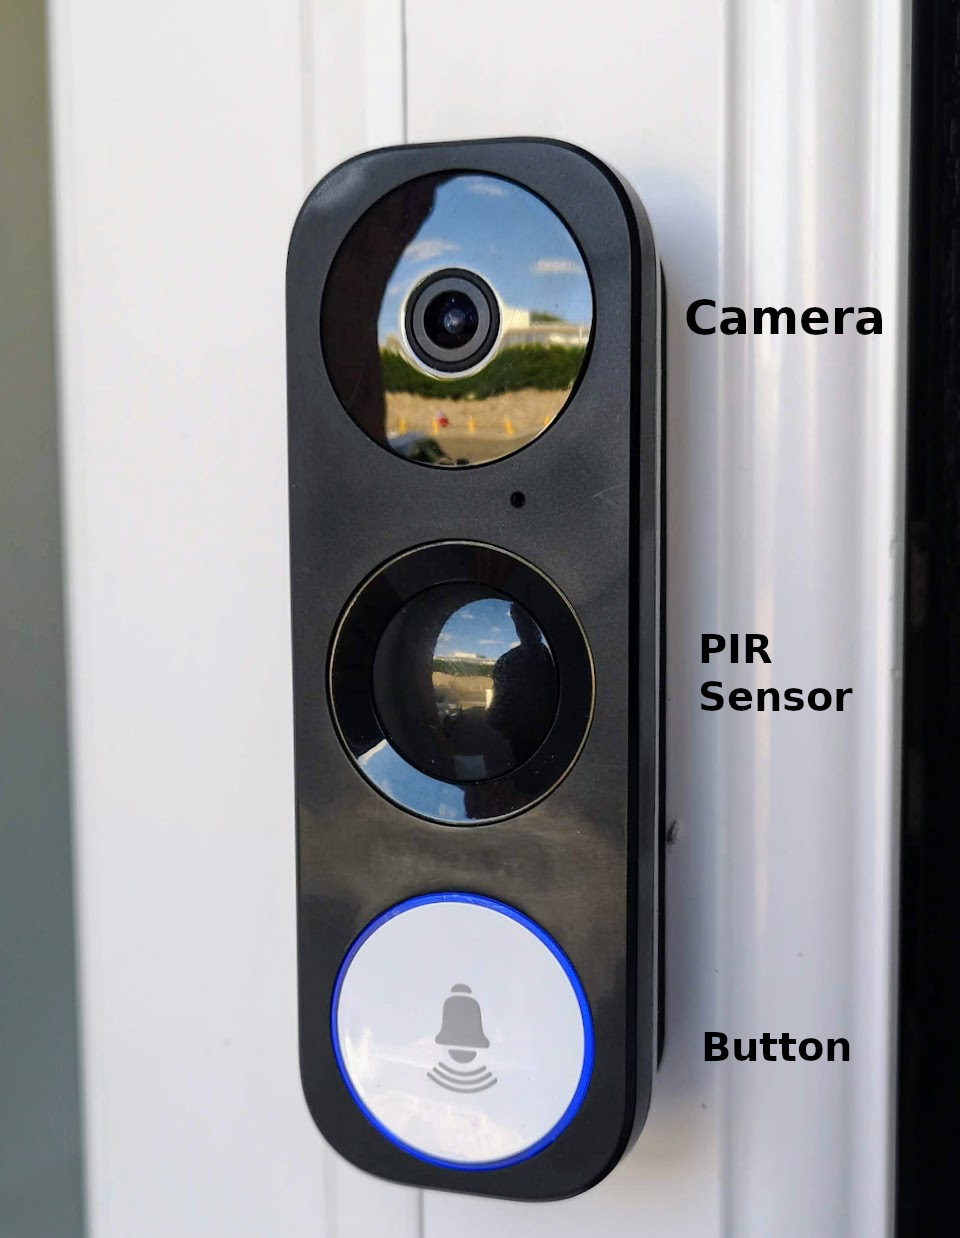
I previously tried to resolve this flaw by swapping the buttons between faceplates to make sure the button was the only high-contrast element on the faceplate. This left the doorbell with the following appearance:
The Problem
Many visitors inexplicably press the PIR sensor instead of the button. So far, none of these visitors can tell me why they were confused. My best guess at the source of confusion is:
- All three elements on the front of the doorbell (the button, PIR sensor and camera) are the same size.
- The button is slightly concave (recessed) while the PIR sensor and camera are slightly convex (protruding).
- The PIR sensor has an interesting profile that might make it look more like a button.
- Perhaps when presented with three ambiguous options, people tend to choose middle option, in this case the PIR sensor.
- The decal on the button is relatively small and low contrast (grey on white) and some people might not be able to clearly see it as they approach the door and try to size up the situation.
The Solution
I decided to craft a new button, which would protrude from the faceplate, and hopefully seem more “pressable”. If I remember my UX design terminology collectly from the excellent Design of Everyday Things (which I highly recommend), I hoped that the new button would present a more perceptible “affordance” to a visitor to my house.
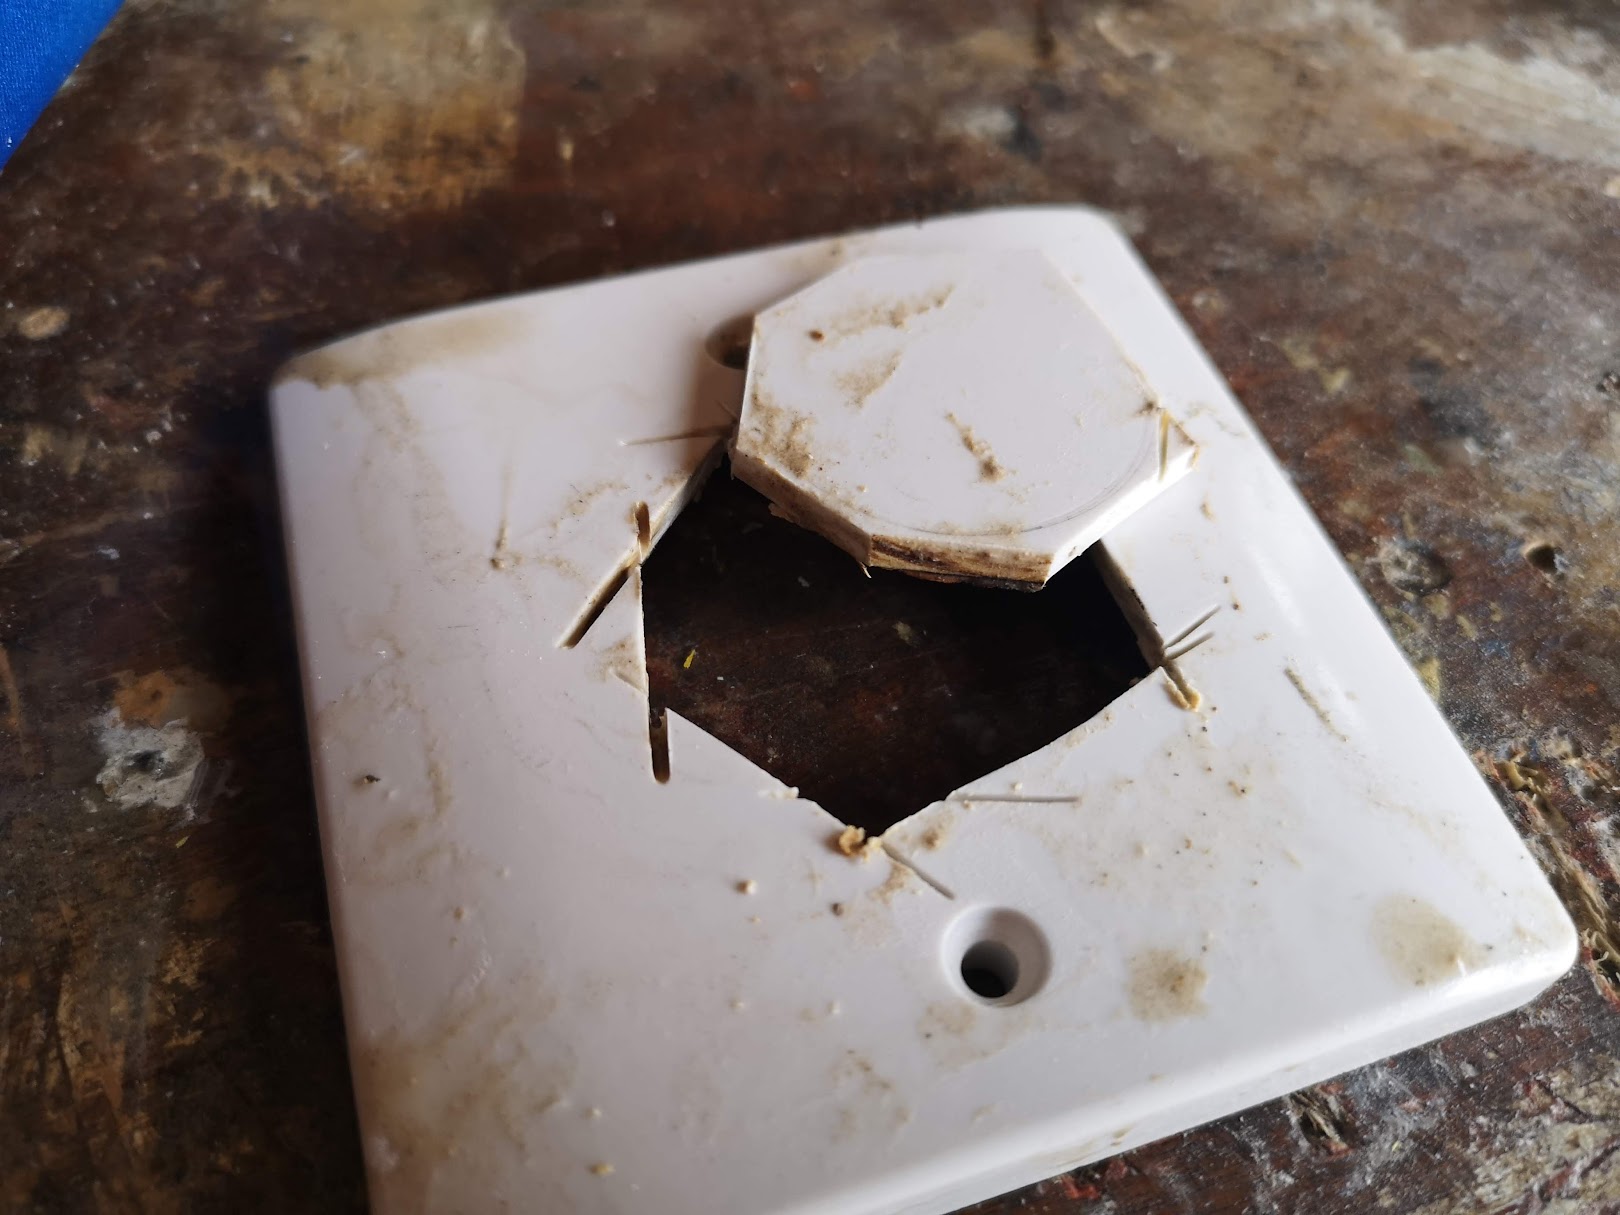
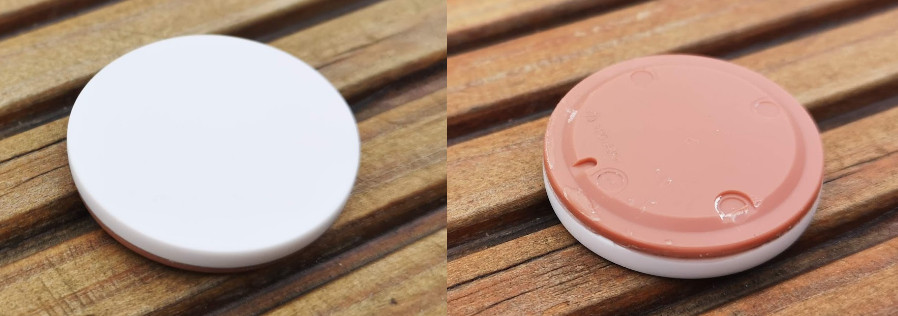
As near as I can measure using my old analogue Vernier calipers, the button on the doorbell has a diameter of 32.8mm. I wanted to find a thick piece of white plastic that I could replace it with. I searched through all the bottle tops in my house, but I couldn’t find anything appropriate. My eyes then landed on a leftover plastic wall socket blanking plate (which costs about €2 in a local hardware store).
This is moulded from a hard white plastic (I believe it is Urea Formaldehyde), which can be filed, sanded and polished, with a wall thickness of about 4mm. I used the button from the brown faceplace to inscribe a 32.8mm circle onto it.

Next, I donned some PPE and used a dremel to roughly cut out the circle.
I then trimmed the piece down to the inscribed circle, starting with a bench grinder, then a hand file, and down through various grits of sand paper (all the way down to 2000 grit). I finished off by polishing it with metal polish to achieve a high gloss shine.
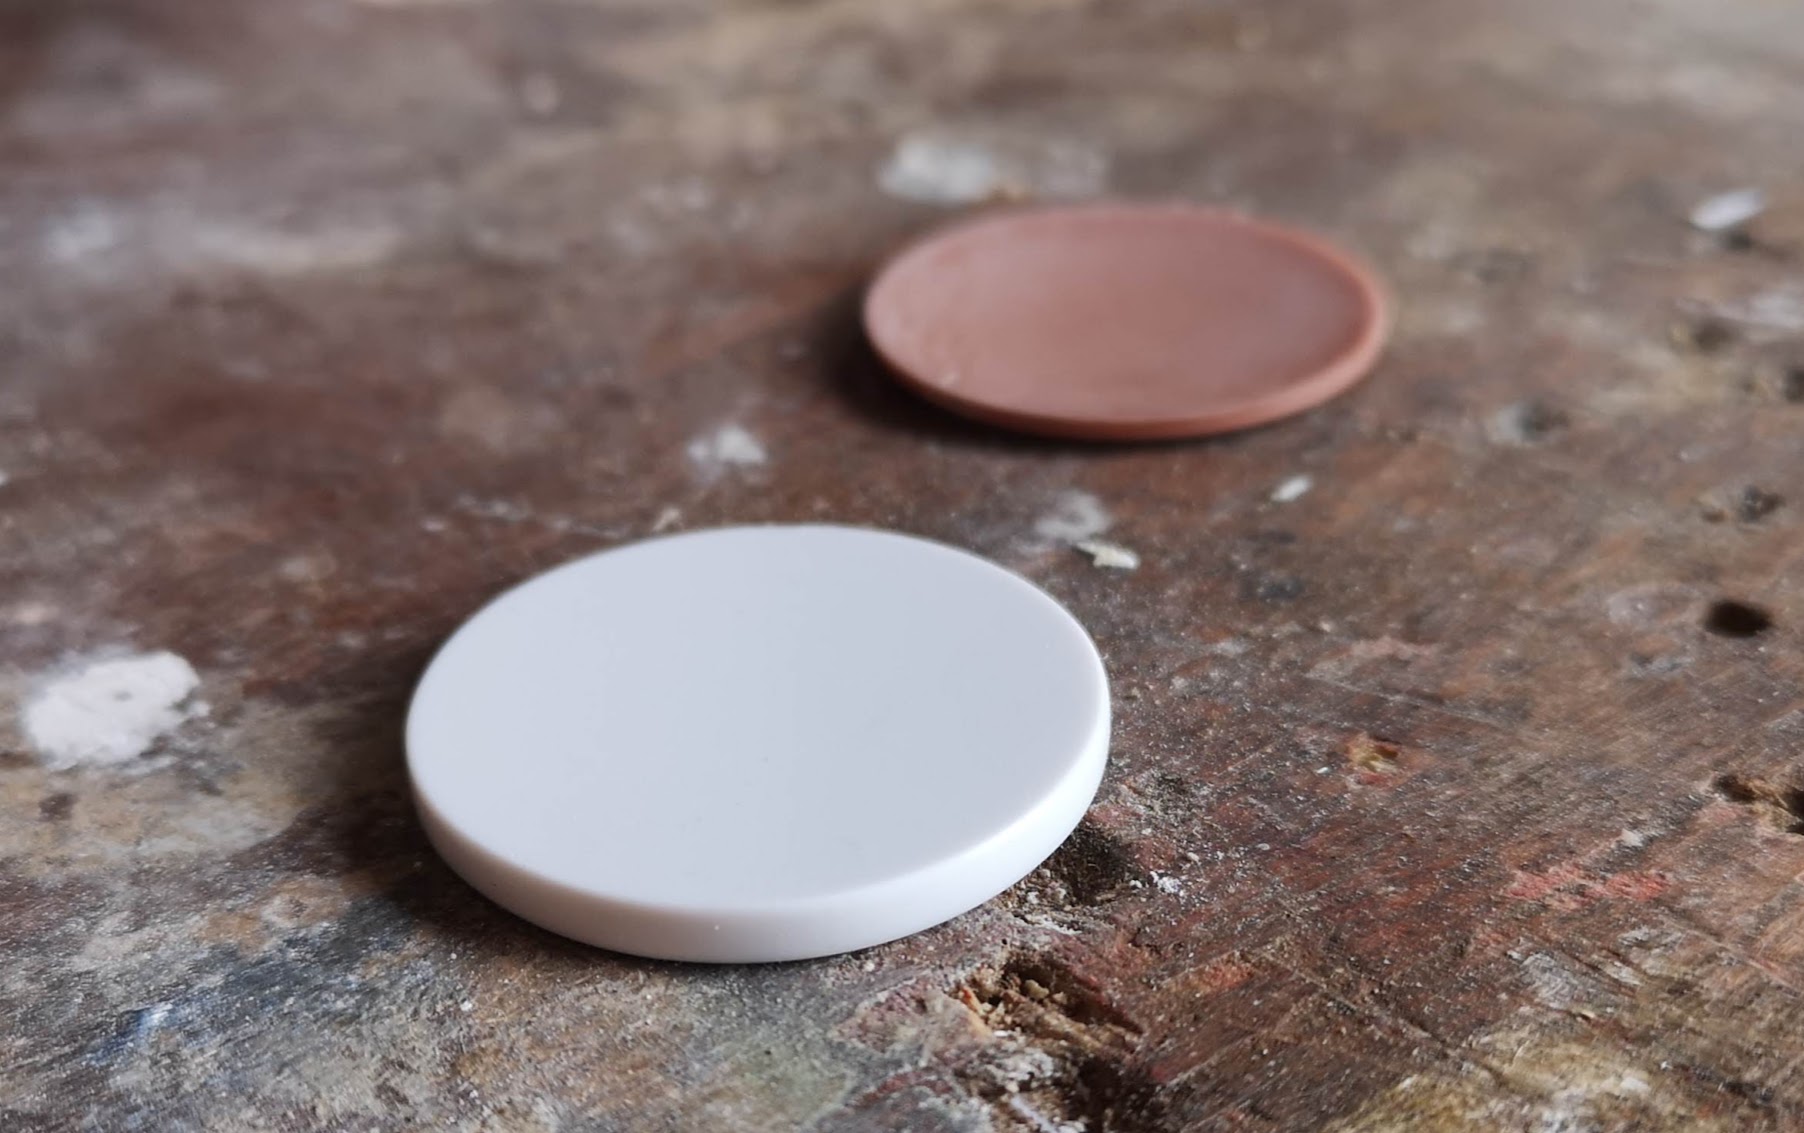
To ensure a perfect fit on the doorbell, I decided to bond the new white button onto the button from the brown faceplate, which I was definitely never going to use for anything else. This increased the overall thickness of the new button, and ensured that it had the necessary keying on the back to allow it be precisely seated into the faceplate. I sanded down the front of the button to remove the original decal, and then I flooded the concave face of the brown button with epoxy and sandwiched the two together. It was a bit tricky to keep the two parts aligned while they were bonding, and if I was doing it again I would make life easier by letting the epoxy cure until tacky before sandwiching the two pieces.
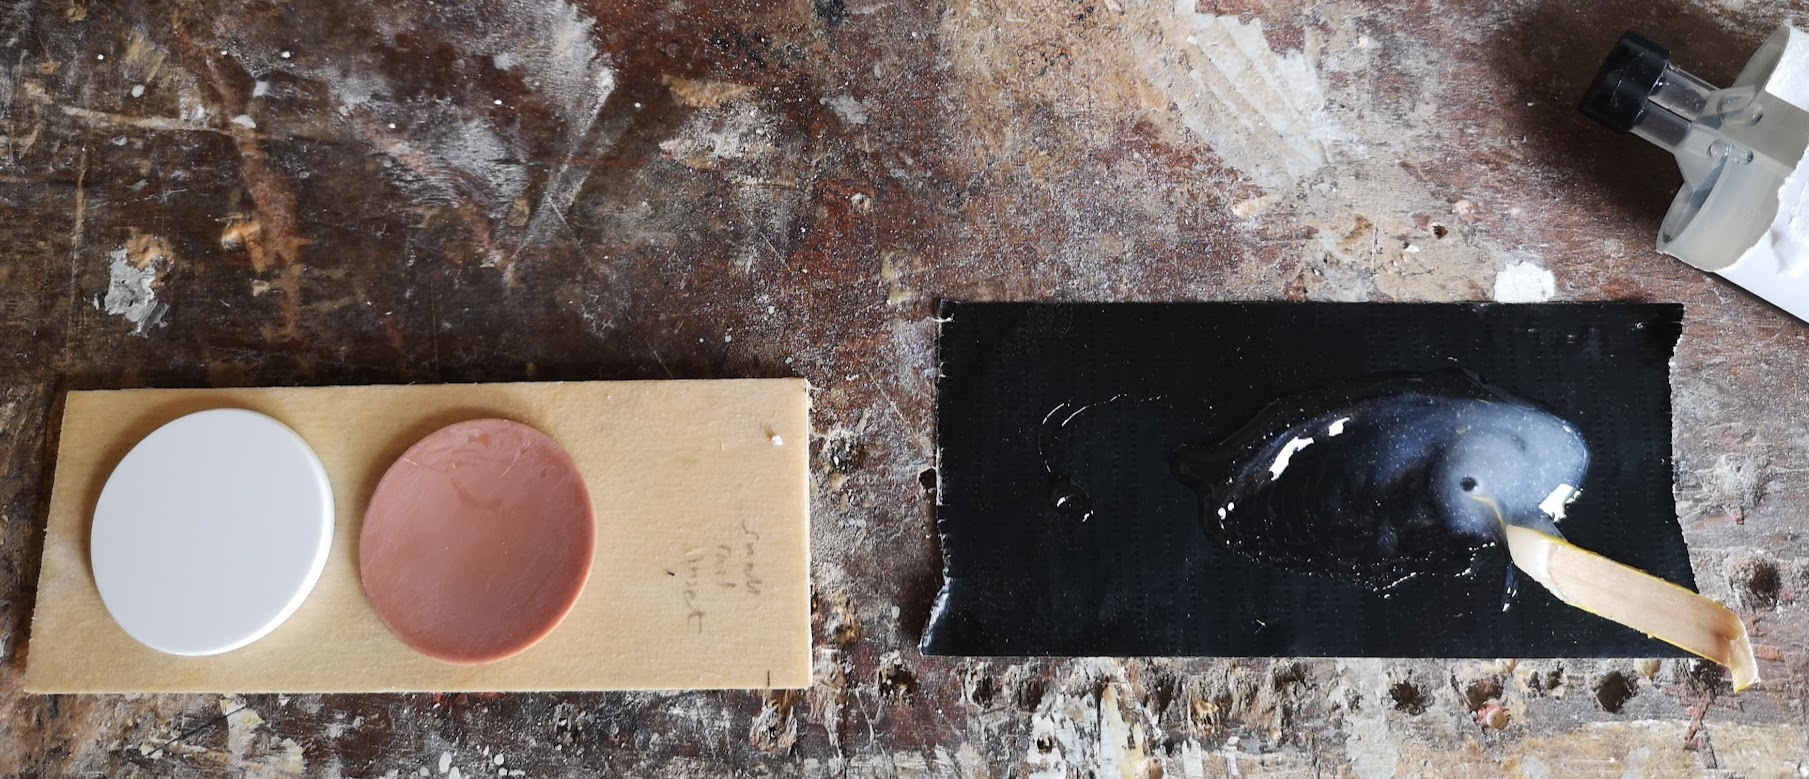
The two pieces bonded very firmly, and cleaned up very nicely.
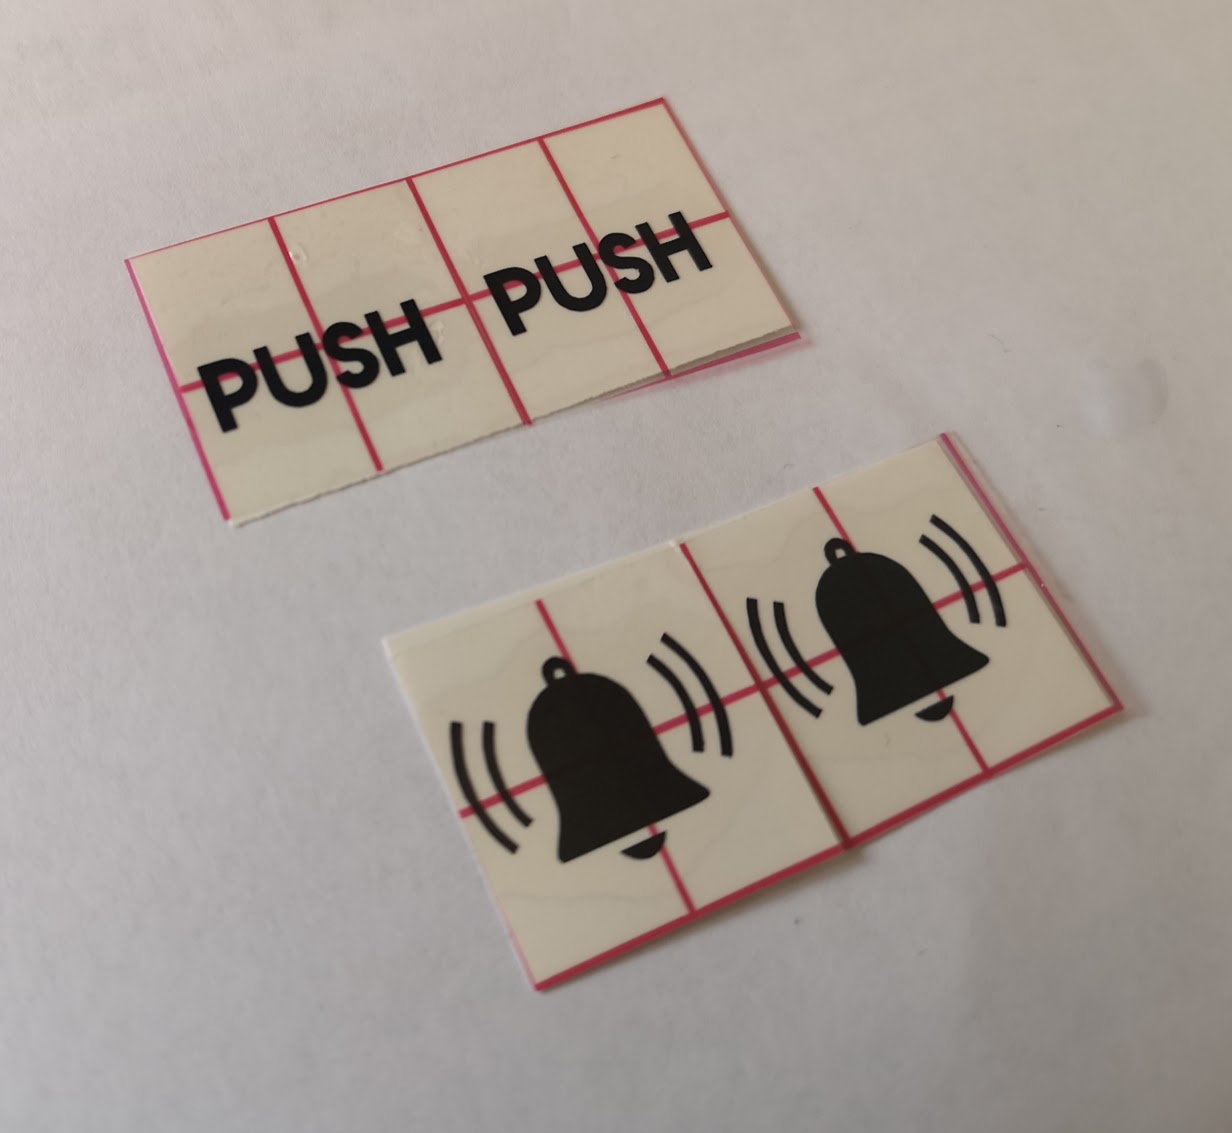
The next part of the puzzle was to put a decal on the new button to make its function explicit. I found a suitable vinyl decal on Etsy from Upstate Vinyl Decals for just $5. Although this decal was designed for the Nest doorbell, it is perfectly suitable for this project, and I decided to buy two versions so I could make a final decision later on. Since I was putting this decal on a white button, I bought the black version. The seller, Andrew, fulfilled the order next day and I received the decals by regular post (New York to Ireland) 10 days later, along with a spare of each decal and some handy printed instructions.
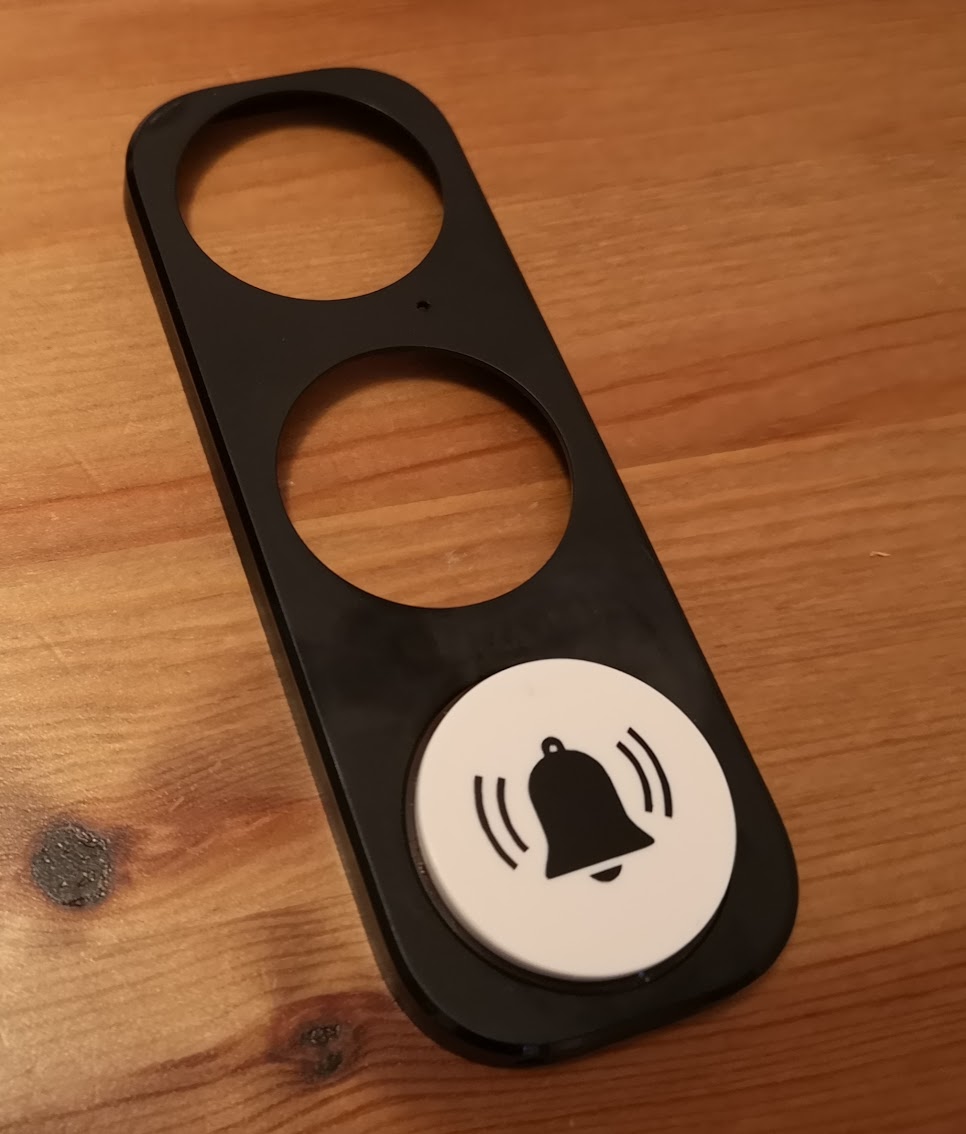
I took the faceplate off the doorbell, removed the old button using a plectrum (see my previous post for a picture of this process), and mounted the new button. The remaining gum that attached the original button was sufficient to hold the new button in place, so no new adhesive was required. I then carefully applied the new decal.
Here is the doorbell before and after this fix. I have a hard time imagining how anyone could fail to identify the button now, but we’ll see how it goes.
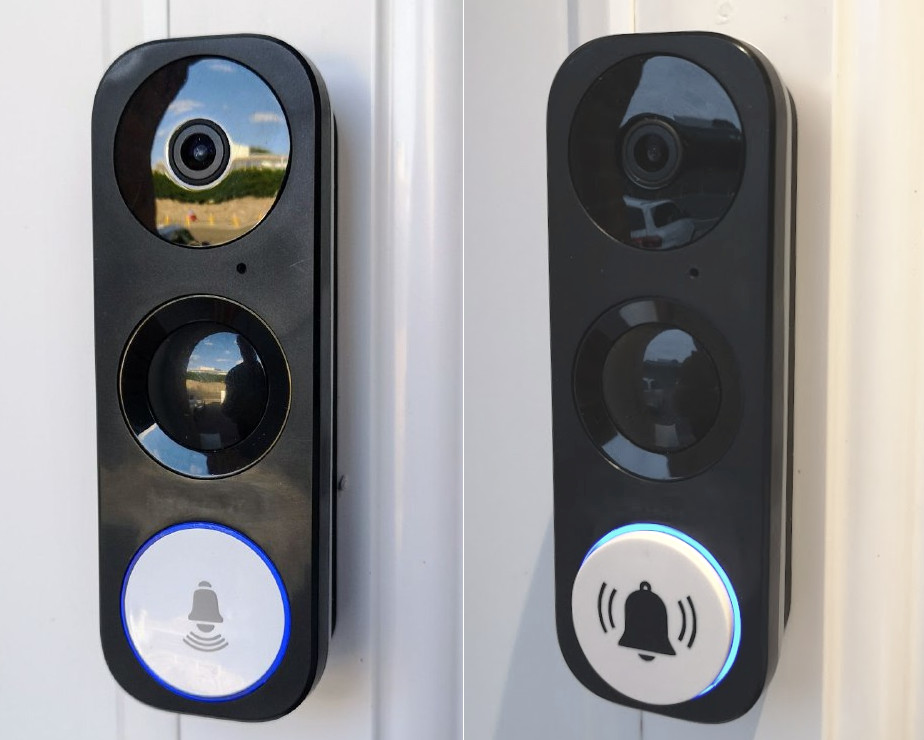
Update 26 July 2021: It’s now one month later, and I’m happy to report that we’ve had no visitors confuse the button and the PIR sensor. This fix appears to have worked.