How to Run Home Assistant OS in a Virtual Machine under LXD
I recently set up an Intel NUC as new home server, ended up hosting a wide range of services on it in containers or VMs. I initially tried using Proxmox to achieve this, but have found LXD running on top of Debian to be vastly preferable.
Getting Home Assistant OS running inside LXD wasn’t well documented, so here’s how I did it.
Acknowledgements to:
Prerequisites:
- Have bridge networking set up so that you can access your LXD containers and VMs directly over your network. Here’s how I got bridge networking running without Docker screwing it up.
Suggested UI:
- Various UI screenshots below are of LXDWare’s LXDDashboard. There are many web-based UIs for managing LXD, and I briefly tried them all before settling on LXDDashboard. It’s straightforward, easy to install, easy to use and well-featured. You can install it in all kinds of ways, including in an LXC container or in Docker.
Instructions to run Home Assistant OS under LXD
# make a directory to work from
mkdir haos
cd haos/
# download the KVM image
wget https://github.com/home-assistant/operating-system/releases/download/10.1/haos_ova-10.1.qcow2.xz
# extract it
xz -d haos_ova-10.1.qcow2.xz
# make a `metadata.yaml` file and compress it
cat << EOF > metadata.yaml
architecture: x86_64
creation_date: 1624888256
properties:
  description: Home Assistant image
  os: Debian
  release: buster 10.10
EOF
tar -cvzf metadata.tar.gz metadata.yaml
# import both the KVM image and the metadata file as a new image called "haos"
lxc image import metadata.tar.gz haos_ova-10.1.qcow2 --alias haos
# launch it as a VM
lxc launch haos ha --vm -c security.secureboot=false -d root,size=32GiB
# Set VM limits per advice at https://www.home-assistant.io/installation/linux
lxc stop ha
lxc config set ha limits.cpu=2 limits.memory=2GiB
lxc start ha
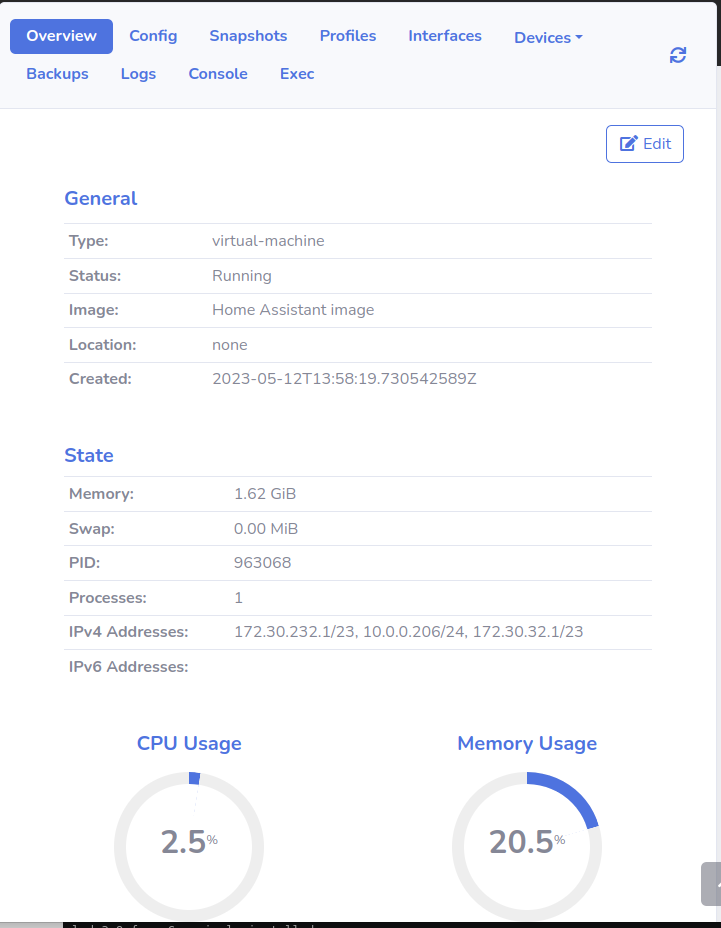
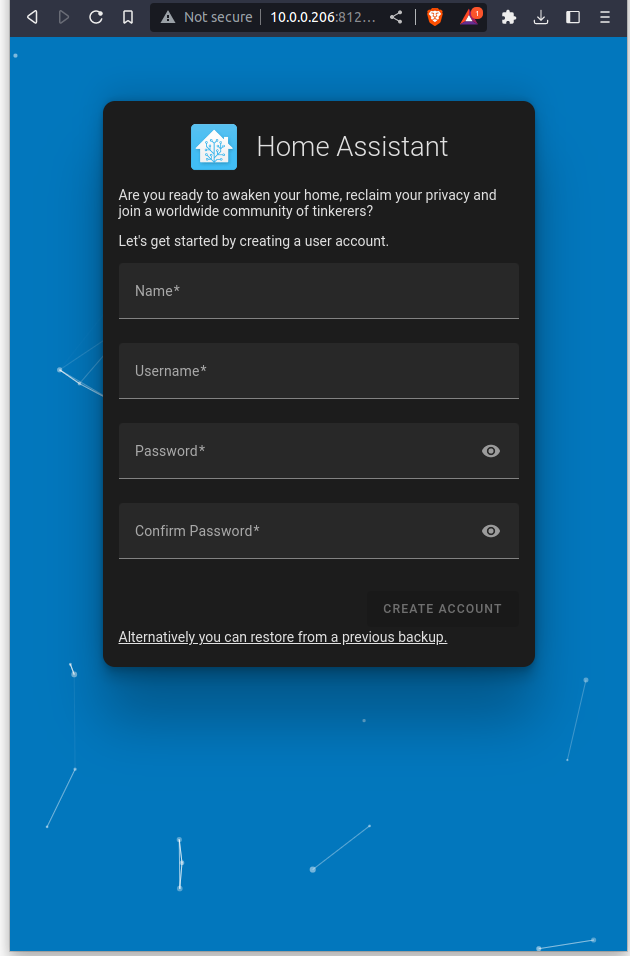
At this point, Home Assistant started up normally.


Shell access to the VM
If you attempt to log into the VM in the normal LXD/LXC way (e.g., lxc shell ha), you will find yourself at a login prompt for which there is no login that works. This is because the Home Assistant OS image is configured to prevent root SSH access, unless special steps are taken.
If you want to connect to the VM via SSH, the easiest way is to use the Home Assistant SSH addon, which provides an environment inside a docker container in the VM that you can SSH into.
If you want to SSH into the host VM, then you can follow the procedure in the developer docs, which are basically to boot the host with a USB drived labelled “CONFIG” attached to it, which contains an authorized_keys file, which contains the public part of an SSH key. After booting up, the root account will be able to authenticate using that SSH key. The extra step required for it to work with LXD is to pass the USB device into the VM as discussed below.
It seems a bit unnecessary to plug a physical USB drive into a virtual machine. It would be nice if we could emulate a USB drive instead. I tried to do this by creating a loop device via the Loop Setup (
losetup) command and formatting it to ext4 with the label “CONFIG”, but I got stuck trying to pass the device into the VM. People seem to have success following @TomP’s advice on the linuxcontainers forum, but I got aError: Invalid devices: Device validation failed for "loop-control": Unsupported device type. Perhaps this only works with containers, not with VMs. In any case, I’m not confident that Home Assistant OS would have acceptedauthorized_keysfrom the loop device even if I had succeeded.I also investigated using the
dummy_hcd(Dummy Host Controller Driver) andg_mass_storage(Mass Storage Gadget kernel modules to emulate a USB device. Althoughdummy_hcdwas introduced in Linux kernel 5.10 (released in December 2020),g_mass_storageis still not included by default. I’m on Debian 11 (Bullseye), which hasdummy_hcdbut notg_mass_storage. I’m not motivated enough to recompile the kernel to get it. For now, I’ll keep my eye ong_mass_storageand maybe try again if it appears in a kernel update from Debian.
USB devices
Passing USB devices through to a VM is straightforward. This tutorial on the LXD forums discusses how to add a device using the terminal.
First, find the USB device’s vendor ID and product ID using lsusb:

You can add the device to the VM at the command line as follows:
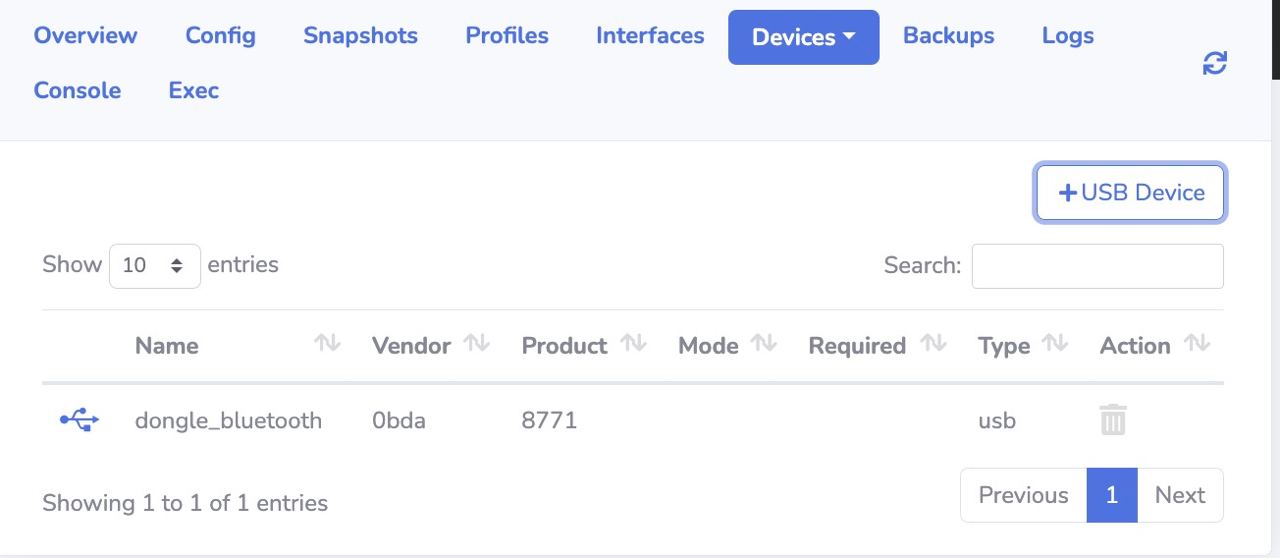
lxc config device add ha myusbdevice usb vendorid=obda productid=8771
Alternatively, add it in LXDDashboard by you can picking the VM, navigating to “devices” in the main menu, and then “USB”:

Background Setup
My NUC is running Debian 11 (Bulleye), and has Docker and LXD installed. This allows me to run Docker containers, LXC containers as well as virtual machines. There is nothing else to speak of running on the host machine.
To make life easier, I have Portainer running in Docker, which I can use to easily manage other Docker containers.
After reviewing various web UIs for LXD, I selected LXD Dashboard. I have it running as a Docker container, configured from inside of Portainer with a docker-compose.yaml as follows:
version: '3'
services:
  LXD-Dashboard:
    privileged: true
    restart: on-failure

    image: lxdware/dashboard:latest
    ports:
      - "8080:80"
    volumes:
      - "/configs/lxddashboard/lxdware:/var/lxdware:rw"
This allows me to easily manage containers and VMs running in LXD.
Server overview (LXD and Docker)
Right now, here is everything that is being hosted:
- Docker
- Portainer (for managing docker containers)
- LXD Dashboard (for managing LXD containers/VMs)
- Frigate
- Nginx (a local Nginx serving a static page with links to all local services)
- LXD VMs
- Windows 10 (on demand, and available over remote desktop)
- Home Assistant OS (as a backup to my Home Assistant Blue)
- LXD/LXC containers
- NAS (SMB server on top of Debian, which is also configured to perform backups)
- PiHole (local DNS server on top of Debian)
- Wireguard (VPN server on top of Debian)
- Zabbix (system monitoring server on top of Debian)